Google+ Sidhe banshee: Rice
Showing posts with label Rice. Show all posts

Monday, 15 October 2012

Easy Halloween recipes

What can you do when you get a pumpkin from your bf dad's kitchen garden? (i don't even know if this is right to say in english..help!)


My bf and me decided to dedicate our sunday to cook some pumpkin recipe together!
Let's start with the risotto ( i love risotto! )
Ingredients for 2 people:
Half a litre of vegetable stock
200g rice
25g butter
White wine
An onion
150g pumpkin
Greated Parmigiano.
Start cleaning the pumpkin from the seeds, then cut it in little dices.
Chop the onion in very little pieces, put it in a pan with some oil and let it to brown.
At this point add the pumpkin's dices, wait till they get soft then add the rice, mix it all for a few minutes, then add a sprinkle of wine.


Now start adding, little by little, the vegetable stock and let it all cook for about 20 mins (just taste if the rice is soft, and if the stock dry off).
At the very end add the butter and some parmigiano.

And now..Pumpkin cake, a very very easy one!
Ingredients:
300g pumpkin
350g white flour 00 type.
3 eggs
100g butter
250g sugar
1 sachet baking powder
Almond essence
1 coffee cup of milk
150g dark chocolate


Cook the pumpkin in the oven till it get very soft.
Blow up the butter with the sugar till it became homogeneus and then add the red part of the eggs little by little (save the white too for later), keep blowing it.
Then, while blowing, add the flour the pumpkin and the almond essence, when it get creamy add the milk, the baking powder and the white part of the eggs that you previously blowed up.
Now put in the oven for 30 minutes to 180 degrees.

When it is ready, melt the dark chocolate with a microwave and pour it on the cake like icing.

And that's all.
Isn't it easy?
if i can do it you can as well, for sure ;)

Monday, 30 July 2012

Onigiri-My-Way

I found time today to try and make onigiri.
The title explains that is not the original onigiri, that's because.....i'm not so good at cooking so better to explain...that way i hope you don't get a trauma seeing my onigiri!
So what i used is listed in the post below..
oh...okay okay, I'm gonna say again:
Japanese rice, Nori seaweed, red bean cream (with pieces of bean inside), salt, sugar.
The recipe says to use rice vinegar, but i hadn't.
I cleaned the rice in water until the water was looking clean, then i let the rice to rest for 15 minutes


After 15 minutes has pass, i did put the rice with clean water in a pot on the high fire until it boiled, at that point i lowered the flame and let the water to dry.
when the water has gone, the recipe tells you to use the wooden pot, but i don't have so i just used a clean pot.

I should have melt the sugar and the salt (for 500g of rice is 2 little spoon of sugar and 1 of salt) with vinegar but i just used sugar and salt in the new pot and mixed it gently, because you don't have to break the rice or it won't stay in shape.

while mixing i flatter the rice to make it to cool down, then i covered it with a cloth and waited 10 more minutes.

After that i used my heart and star shape, i first put in them a little rice then in the center some bean cream and covered with more rice.

Turned it upside down on the seaweed and cut the shape.
The wet rice will glue the seaweed.
This is the result, not wonderful, but it taste good ;)


Thursday, 19 July 2012

Shaped rice for onigiri

Today i decided to prepare my tomorrow lunch.
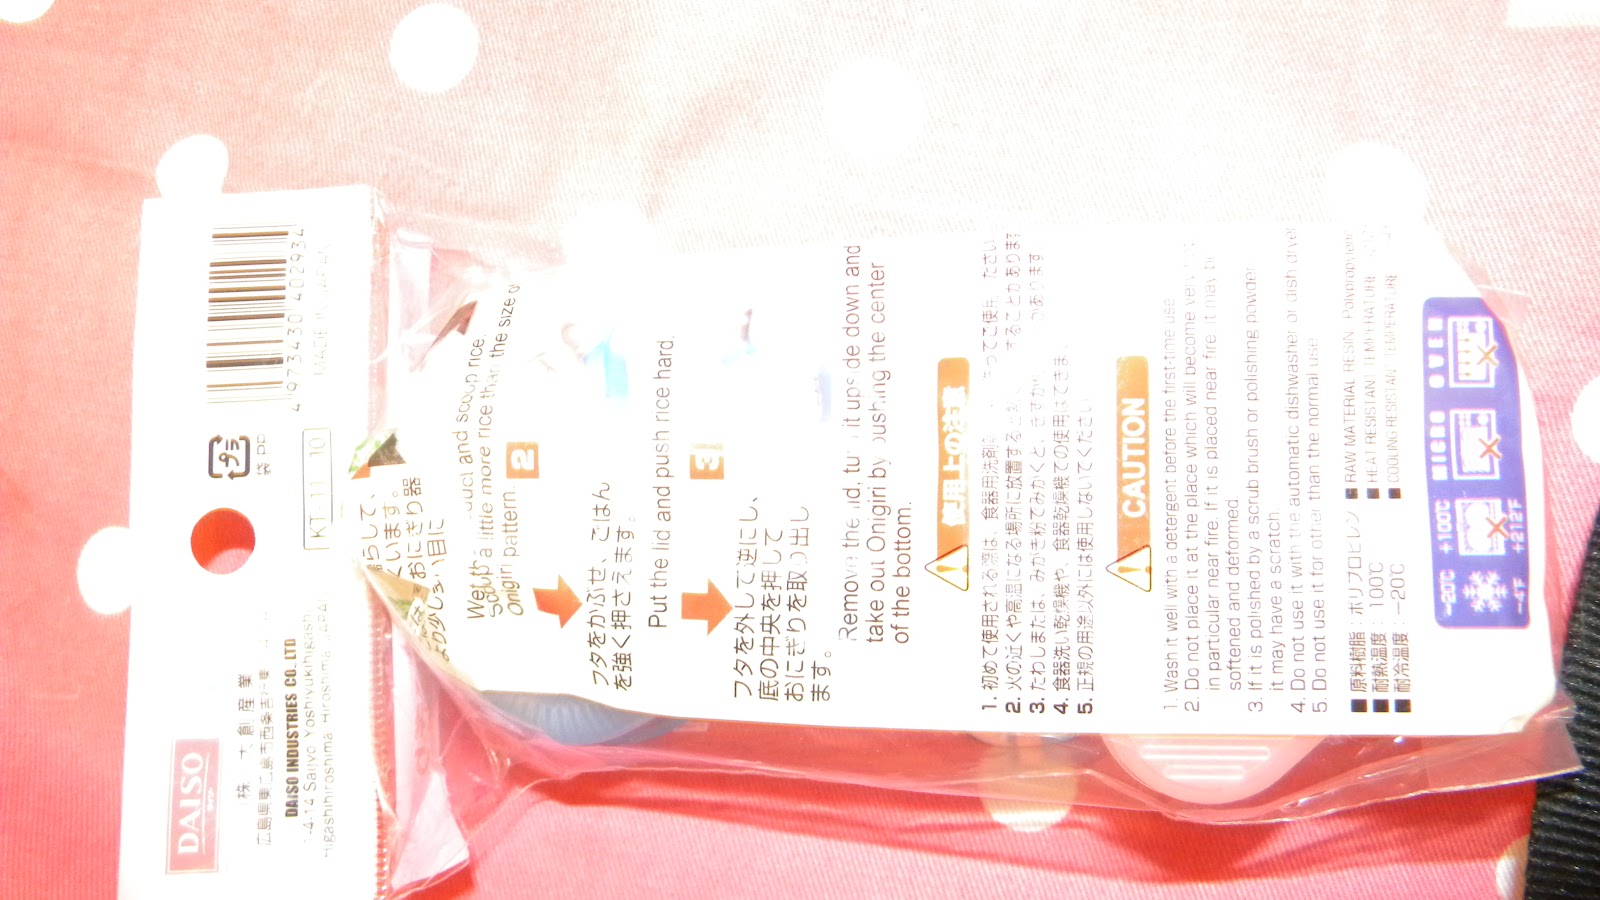
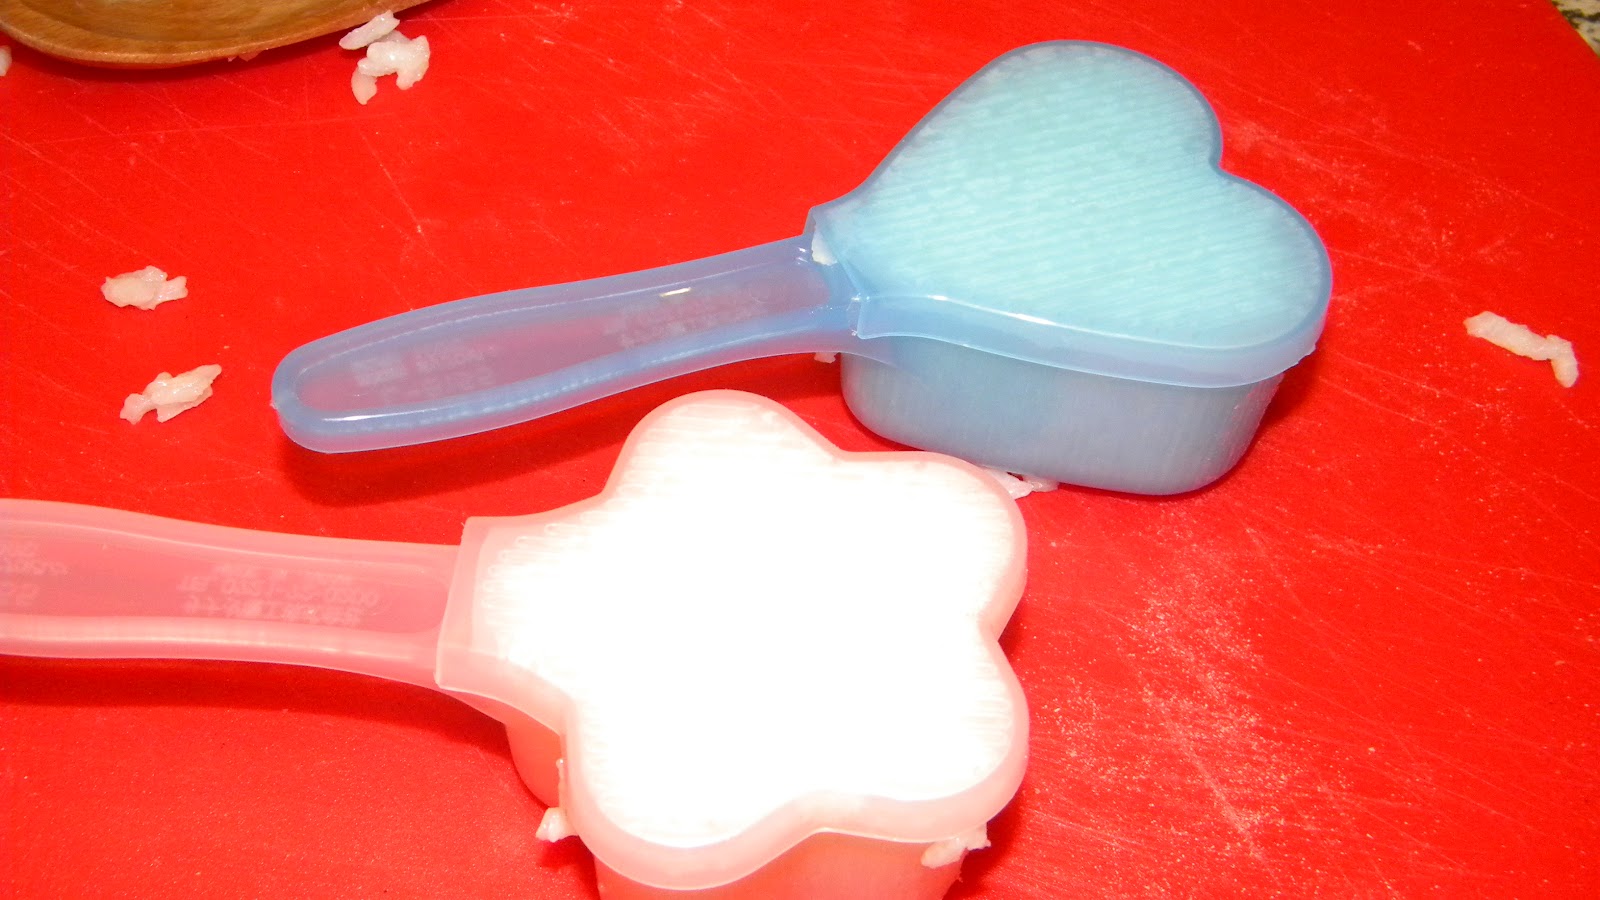
And pushed by this desire i used for the first time the...thingies to make shaped rice.
I got them to the Japan Center, in London, close to Piccadilly Circus.


They even put the instruction, in Japanese obviously, and everybody knows i'm fluent in Japanese, aswell i'm a great chef so i don't need any instruction...

So, yeah it is quite easy, first of all you have to cook some rice.
At this point is up to you, you can cook Japanese rice and make onigiri or whatever, or just cook whatever rice you have as long as it sticky.
Then Let it to cool a bit.
At this point you can just use the shaped thingies as a spoon and get rice in it, like this


Press it down like this


And close the clover for a few, like one minute.


On the back the thingies got a spot made to push the rice out, and this is the result, enjoy!